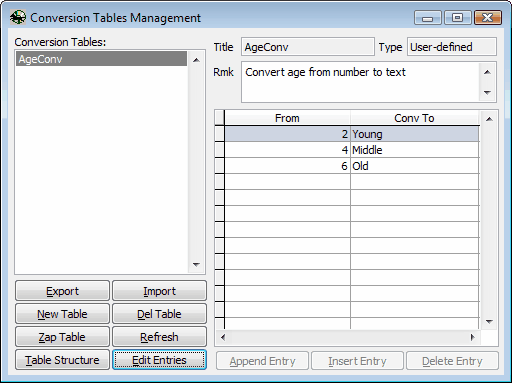
A conversion table provides rules for converting a value into another. Selecting [Conversion Table Management] from the [Analysis] menu of the RaceMate main menu. You will see the following form. The AgeConv table in the following figure converts 2 to "Young", 4 to "Middle" and 6 to "Old".

Edit Table Content
Click on the [Edit Entries] button to edit the content of the conversion table. You may use the [Append Entry], [Insert Entry] and [Delete Entry] buttons to add and delete entries of the table.
Export Conversion Table
Click on the [Export] button. You will be prompted to assign a file name to your exported file.

Import Conversion Table
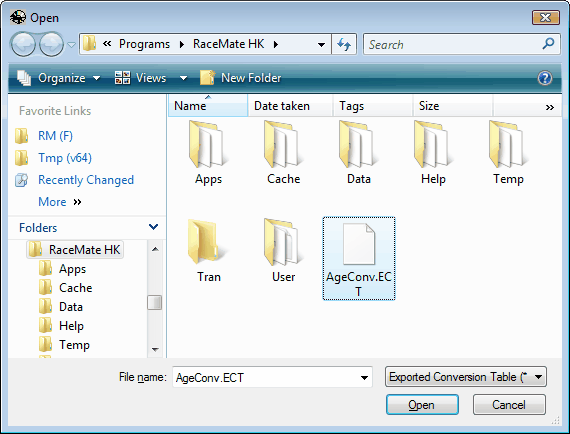
Click on the [Import] button. When you see the following dialogue, select the exported conversion table you want from the hard disk and click on [Open] to import the file.

Create New Conversion Table
Click on the [New Table] button to create a new conversion table.

Delete Conversion Table
Click on the [Del Table] button to delete the highlighted conversion table.
Zap Conversion Table
Click on the [Zap Table] button to clear the editing table.
Modify Table Structure
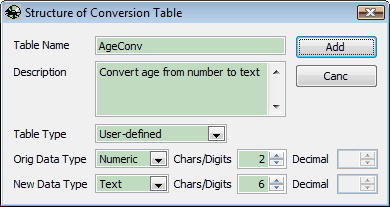
Click on the [Table Structure] button to show the "Structure of Conversion Table" form. On the form you can modify the structure of the table.
Page url: http://www.racematenet.com/english/help/index.html?managing_conversion_tables.htm